The Ultimate Guide to Freezer Meals for New Moms: Make-Ahead Recipes & Prep Tips
Hey mama. Let us talk about the fourth trimester. You know, that magical time after you bring your baby home where you are physically recovering, emotionally adjusting, and running on a solid two hours of sleep. In the haze of 2 AM feedings and blowout diapers, the absolute last thing you want to figure out is what is for dinner.
Trust me, I was there. With my first, I was staring at my fridge crying because I could not even chop an onion while holding a screaming baby. This is where freezer meals for new moms become your ultimate lifeline.
Batch cooking is not just about saving time. It is about protecting your mental bandwidth. When you have a stash of nutritious, ready to eat meals in the freezer, you eliminate the daily decision fatigue of meal planning and the physical toll of standing at the stove.
This comprehensive guide covers everything you need to know about postpartum meal prep. From the logistics of choosing the right containers and preventing freezer burn, to safe thawing methods and a master list of meals that freeze well, we have got you covered. Grab a cup of coffee (while it is still hot, lol), and let us get your freezer stocked.
⚠️ Food Safety Note: Always ensure meats are cooked to their proper internal temperatures before freezing, and reheat all frozen meals to an internal temperature of 165°F (74°C) before consuming.
Why Freezer Meals Are a Postpartum Lifeline
Before we dive into the “how,” let us talk about the “why.” Freezer meals offer benefits that go way beyond just feeding your body:
- Reduces Mental Load: Decision fatigue is incredibly real. Knowing you just need to grab the lasagna from the freezer removes a massive daily stressor. You have enough to worry about without playing “What is for dinner?” every single night.
- Supports Physical Recovery: Postpartum bodies need nutrient dense food to heal from birth and, if applicable, produce breast milk. Freezer meals ensure you have access to balanced nutrition even on your absolute hardest days. (And yes, I formulated my recipes with my gestational diabetes in mind, so we are keeping those blood sugar spikes in check!)
- Prevents Reliance on Takeout: While takeout is great, it is expensive and often lacks the high quality proteins, fibers, and vitamins your recovering body craves.
- Empowers Your “Meal Train”: If friends and family want to help, giving them a list of freezer casseroles for new moms to drop off is much easier than asking them to come hold the baby.
The Golden Rules of Freezer Meal Prep Logistics
The difference between a freezer full of delicious, ready to eat dinners and a freezer full of unidentifiable ice blocks comes down to logistics. Follow these golden rules for success.
Choosing the Right Containers
The vessel you choose matters just as much as the food inside. Here is the breakdown of the best options for freezer meals for new moms:
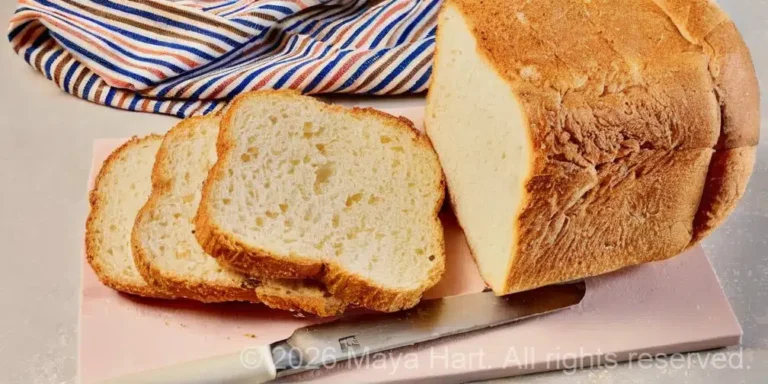
- Glass Containers (e.g., Pyrex, Snapware): The Gold Standard. They do not stain, do not hold odors, and can go straight from the freezer to the oven (if tempered properly). Pro tip: Always use rectangular or square glass containers. They stack so much better than round ones, and space is premium in a tiny apartment fridge.
- BPA-Free Plastic Containers: Great for freezing, but avoid heating acidic foods (like tomato sauce) in them, as they can stain and degrade over time.
- Silicone Storage Bags (e.g., Stasher): Excellent for freezing flat. They save massive amounts of freezer space and are eco friendly.
- Heavy-Duty Freezer Bags: The most budget friendly option. Perfect for soups, stews, and marinades. Crucial tip: Always use bags specifically labeled “Freezer,” not just “Storage,” as they are thicker and prevent freezer burn.
How to Prevent Freezer Burn and Maintain Quality
Freezer burn happens when moisture escapes the food and turns into ice crystals on the surface, leaving the food dry and tough. To keep your make ahead meals for postpartum tasting fresh:
- Cool Completely: Never put hot food directly into the freezer. It raises the internal temperature and creates condensation (which leads to ice crystals). Let food cool to room temperature first.
- Remove the Air: If using bags, use the water displacement method (submerge the bag in water up to the seal to push air out) or invest in a vacuum sealer. If using containers, press a piece of parchment paper directly onto the surface of the food before putting the lid on.
- Leave Headspace: Liquids expand when they freeze. Always leave at least an inch of space at the top of jars or containers to prevent cracking.
- Freeze Fast: Set your freezer to its coldest setting on prep day. The faster food freezes, the smaller the ice crystals, resulting in better texture upon reheating.
Labeling Like a Pro (For Sleep-Deprived Brains)
When you are operating on two hours of sleep, a container of unmarked red sauce could be marinara, or it could be a spicy enchilada sauce. I have made that mistake. Do not be me. Always label your meals with a Sharpie or freezer tape.
Include these four things:
- Name of the dish (e.g., “Turkey Ziti”)
- Date it was made (e.g., “Prepped 10/12”)
- Thawing instructions (e.g., “Thaw in fridge 24 hrs”)
- Reheating instructions (e.g., “Bake 350°F for 45 mins covered, 15 mins uncovered”)
Safe Thawing and Reheating Guidelines
Food safety is paramount, especially when your immune system is taxed. Never thaw meat or complex meals on the counter at room temperature.
- The Fridge Method (Best): Move the meal from the freezer to the refrigerator 24 to 48 hours before you plan to eat it. Place it on a rimmed plate or in a bowl to catch any condensation.
- The Cold Water Method (Faster): If you forgot to move a meal to the fridge, submerge the sealed, leak proof container or bag in a bowl of cold water. Change the water every 30 minutes.
- The Microwave Method (Fastest): Use the “defrost” setting. Note that this can start cooking the edges of your food, so it is best for soups or items you plan to stir frequently.
- Reheating: Always reheat meals until they are steaming hot all the way through, reaching an internal temperature of 165°F (74°C). If baking from frozen, add about 50 percent to the original cooking time and cover with foil for the first half to prevent drying out.
The Ultimate Freezer Meal Master List
Not all foods freeze well. Dairy based soups can separate, and high water vegetables (like cucumbers or lettuce) turn to mush. Below is a curated list of meals that freeze well, categorized by dietary needs.
(Note: These are high level overviews. Click the links below for the full, step by step recipes and batch cooking instructions!)
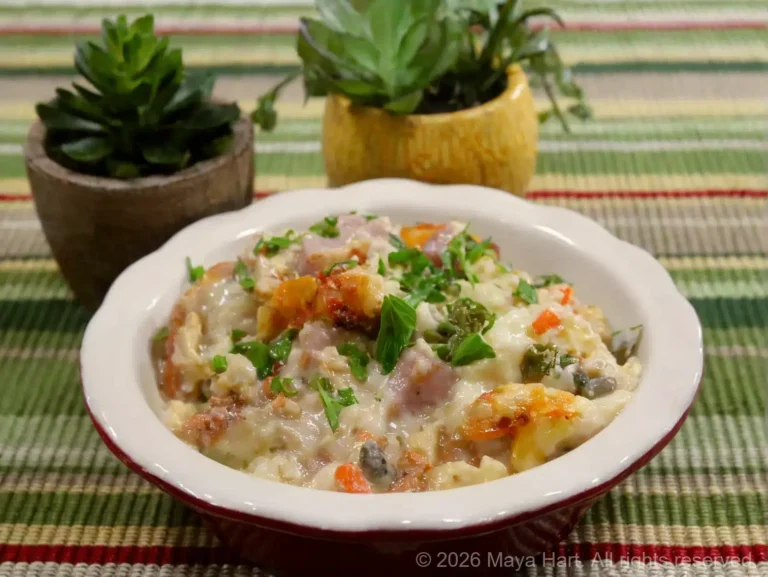
Hearty Dinners & Freezer Casseroles for New Moms
Comfort food is essential for postpartum recovery. These dishes are hearty, freeze beautifully, and reheat perfectly in the oven or microwave.
- Baked Ziti with Hidden Veggie Meat Sauce: A classic. Freezer tip: Undercook the pasta by 2 minutes before assembling, as it will cook more when reheated.
- Chicken and Broccoli Cheddar Enchiladas: Use corn tortillas for a gluten free option. Freezer tip: Freeze before baking. Add the extra cheese right before it goes into the oven.
- Shepherd’s Pie with Sweet Potato Mash: The ultimate comfort food. The mashed potato topping acts as a great insulator in the freezer.
- Beef and Black Bean Burritos: Wrap tightly in foil, then place in a freezer bag. Reheat in the oven or air fryer for a crispy tortilla.
👉 The Best Freezer Casseroles for New Moms (That Actually Taste Good Reheated)
Plant-Based: Vegetarian and Vegan Freezer Meals
Plant based meals are incredibly rich in fiber and antioxidants, which are fantastic for postpartum healing and keeping digestion moving.
- Creamy (Dairy-Free) Vegan Mac and Cheese: Made with a blended cashew or butternut squash base instead of dairy, preventing the grainy texture that happens when dairy freezes.
- Lentil and Vegetable Bolognese: Lentils hold their texture perfectly in the freezer and are packed with postpartum replenishing iron.
- Chickpea Tikka Masala: Coconut milk based curries freeze exceptionally well compared to dairy based curries.
- Black Bean and Quinoa Stuffed Peppers: A complete protein that reheats beautifully in the microwave.
👉 Vegetarian and Vegan Freezer Meals for New Moms
Allergy-Friendly: Gluten-Free & Dairy-Free Options
If you or your baby are sensitive to common allergens (especially if dealing with colic or reflux), having dedicated allergy friendly meals in the freezer is a game changer.
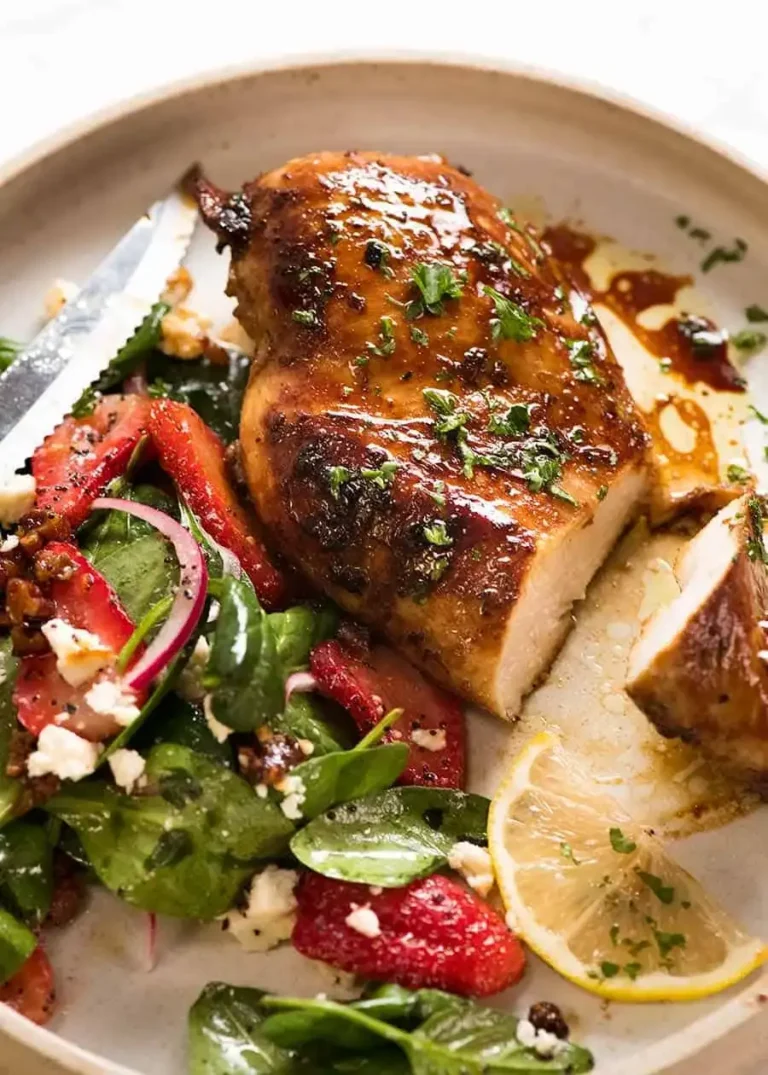
- Thai Coconut Chicken Soup: Naturally gluten and dairy free. Freezer tip: Freeze the broth and chicken, but add fresh cilantro and a squeeze of lime after reheating.
- Gluten-Free Chicken Pot Pie: Use a gluten free pie crust or top with mashed potatoes for a shepherd’s pie variation.
- Dairy-Free Pesto Pasta with Sun-Dried Tomatoes: Use a dairy free pesto or make your own with nutritional yeast.
👉 Freezer Meals for New Moms with Dietary Restrictions (Gluten-Free, Dairy-Free)
Start Your Day Right: Breakfast Freezer Meals
Breakfast is often the most skipped meal for new moms. Having grab and go morning options ensures you get the energy needed to start the day.
- One-Handed Breakfast Burritos: Scrambled eggs, black beans, cheese, and spinach wrapped in a tortilla. Wrap individually in foil. Microwave for 90 seconds. (These saved my life with my 8 month old!)
- Savory Egg and Veggie Muffin Cups: Bake in a muffin tin, freeze on a baking sheet, then transfer to a bag. Grab two and microwave for 30 seconds.
- Freezer Smoothie Packs: Pre portion spinach, frozen fruit, chia seeds, and protein powder into bags. Just dump in the blender, add liquid, and blend.
- Baked Oatmeal Cups: Unlike liquid overnight oats, baked oatmeal freezes perfectly. Reheat in the microwave for a warm, comforting breakfast.
👉 Breakfast Freezer Meals: Make-Ahead Morning Meals for Postpartum
How to Execute a Massive Freezer Meal Prep Day
Knowing what to make is only half the battle. Actually making it without burning out is the other. If you want to prep a month’s worth of food, you need a system. Back in my marketing days, I lived for spreadsheets and workflows. Now, I use that same energy for my kitchen.
The “Assembly Line” Method:
Do not cook one recipe from start to finish before starting the next. Instead, treat your kitchen like a restaurant line.
- Chop Phase: Wash and chop all vegetables for all recipes at once.
- Protein Phase: Brown all ground meats (beef, turkey, chicken) in a large batch, then divide them into the specific recipe bowls.
- Simmer Phase: Get your sauces, soups, and stews going on the stove simultaneously.
- Assembly Phase: Portion everything into your containers, cool, label, and freeze.
This method cuts your active cooking time in half and keeps you from feeling overwhelmed by a sink full of dishes.
The Ultimate Postpartum Freezer Meal Prep Checklist
Save this checklist or print it out to stick on your fridge.
3 Weeks Before Baby Arrives:
- Finalize your menu (aim for 15 to 20 distinct meals, making duplicates of favorites).
- Take inventory of your freezer and clear out old items.
- Order your containers, freezer bags, labels, and a digital food thermometer.
- Create a master grocery list, organized by store aisle.
1 Week Before Baby Arrives:
- Grocery shop for all non perishable items, frozen veggies, and pantry staples.
- Buy fresh meats and produce (or buy frozen if you are not prepping until the week of).
- Wash and dry all your glass containers and ensure you have enough lids.
Prep Day (Ideally 1 to 2 weeks before due date):
- Clear your counters and set up an “assembly line.”
- Cook, cool, portion, and label all meals.
- Freeze flat (if using bags) to save space.
- Move 3 to 4 meals to the fridge for immediate postpartum use.
Postpartum (When Baby is Home):
- Check the fridge every morning: Move the next day’s meal from the freezer to the fridge to thaw.
- Partner or family: Take over the responsibility of thawing and reheating!
Final Thoughts: Give Yourself Grace
Preparing freezer meals for new moms is one of the most loving things you can do for your future self. But remember, the goal is progress, not perfection. If you only manage to make three batches of soup and a dozen breakfast burritos, that is still three dinners and twelve breakfasts you do not have to cook while recovering!
Stock your freezer, lean on your village, and give yourself the grace to rest. You are doing the most important job in the world.
Authoritative Sources & Further Reading
- USDA Food Safety and Inspection Service: Freezing and Food Safety
- FDA: Refrigerator & Freezer Storage Chart
- Academy of Nutrition and Dietetics: Postpartum Nutrition Guidelines